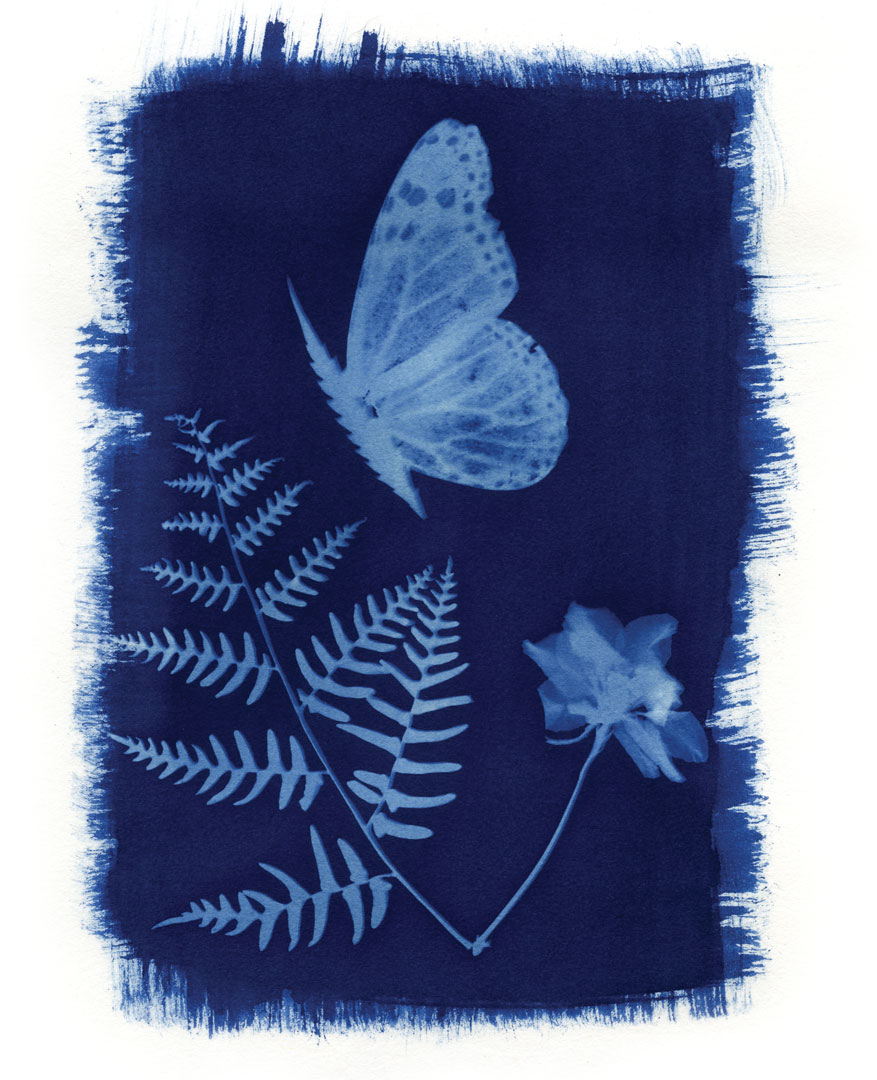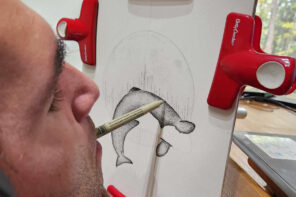
The color cyan might ring a bell or two if you think of it in terms of some of the earliest settlers of the filter world at the start of the Instagram era. Or it could harken you back to the overall color of Catherine Hardwicke’s 2008 adaptation of Twilight. Very blue. But that’s neither here nor there. But where here is, however, is one of the earlier processes for developing prints. The process of cyanotyping was first traced back to 1842 as a means to make copies of very important documents and figures—becoming part of the etymology behind the term “blueprint.” Following its all-business beginnings it became a means to document plant life and insects by taking the process to coated paper and using the sun to make transparencies. It is one of the more unique processes of photography that is relatively simple if you pay close attention. Whalebone reached out to Amy Saville, frequent cyanotyper and photography teacher, to walk us through the steps of creating your very own cyanotype at home—or in the woods. Take it away Amy and have fun, ya hippies.
A stellar alternative printmaking wizard, my dear old professor Paul Karabinis once advised me, “Just chill about screwing up.” While the process is relatively simple and accessible to nearly everyone, making a cyanotype print requires a bit of patience and a lot of magic. If you’re in it for perfection, you’re searching in the wrong place. However, the results are often equally surprising as they are rewarding. I hope the process offers you as much joy as it has me.
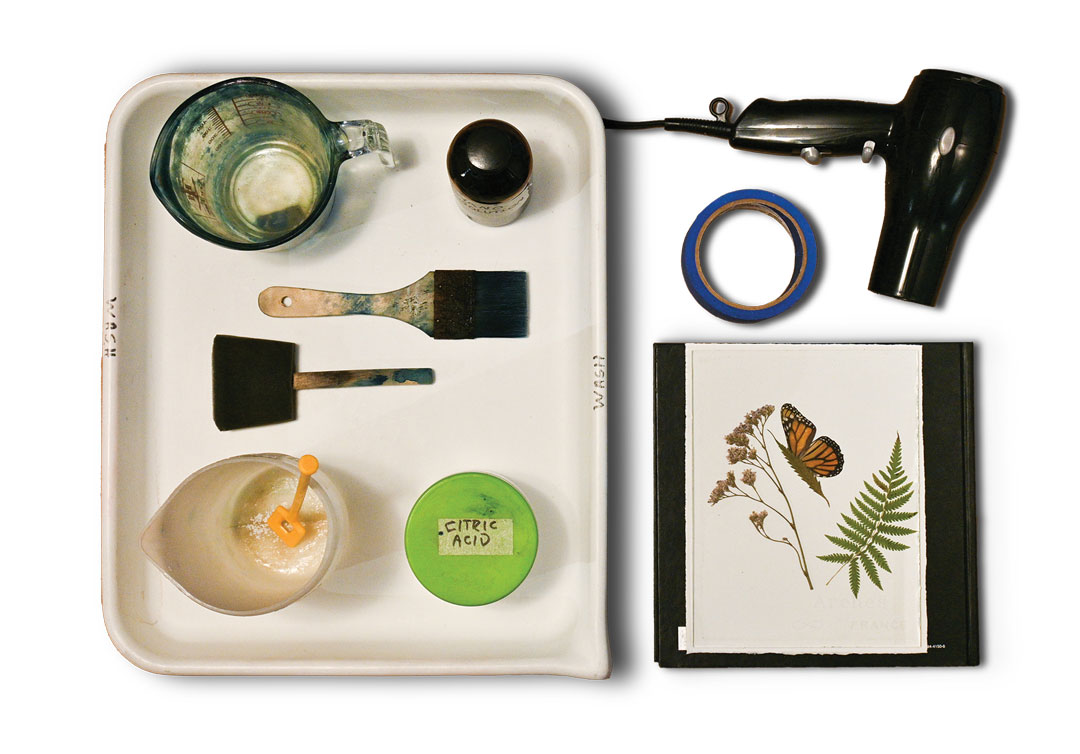
Materials Needed:
- Sunshine – UV light from the sun.
- Cyanotype solution – Unless chemistry was your favorite class in high school, I recommend purchasing the pre-made solutions from either Photographers’ Formulary, Jacquard, or Bostick and Sullivan. They come in two bottles—part A and part B—which only require basic measuring skills. I use a teaspoon to measure.
- Wide-mouth mixing cup – I simply use an old Pyrex measuring glass, but make sure you label it and avoid using it for food afterward.
- Brushes – If printing on paper, I opt for a foam brush. When printing on textiles such as organic cotton, I find a paintbrush to be more effective in transferring the chemistry.
- Citric acid and quart-sized mixing cup (Optional) – If you have printed cyanotypes before or desire to add a little more experimentation to the mix, try bathing your print in citric acid. This will add contrast. Photographers’ Formulary sells this through B&H Photo. There are also many other toning processes worth exploring online, such as using tea and bleach to alter the colors of your print.
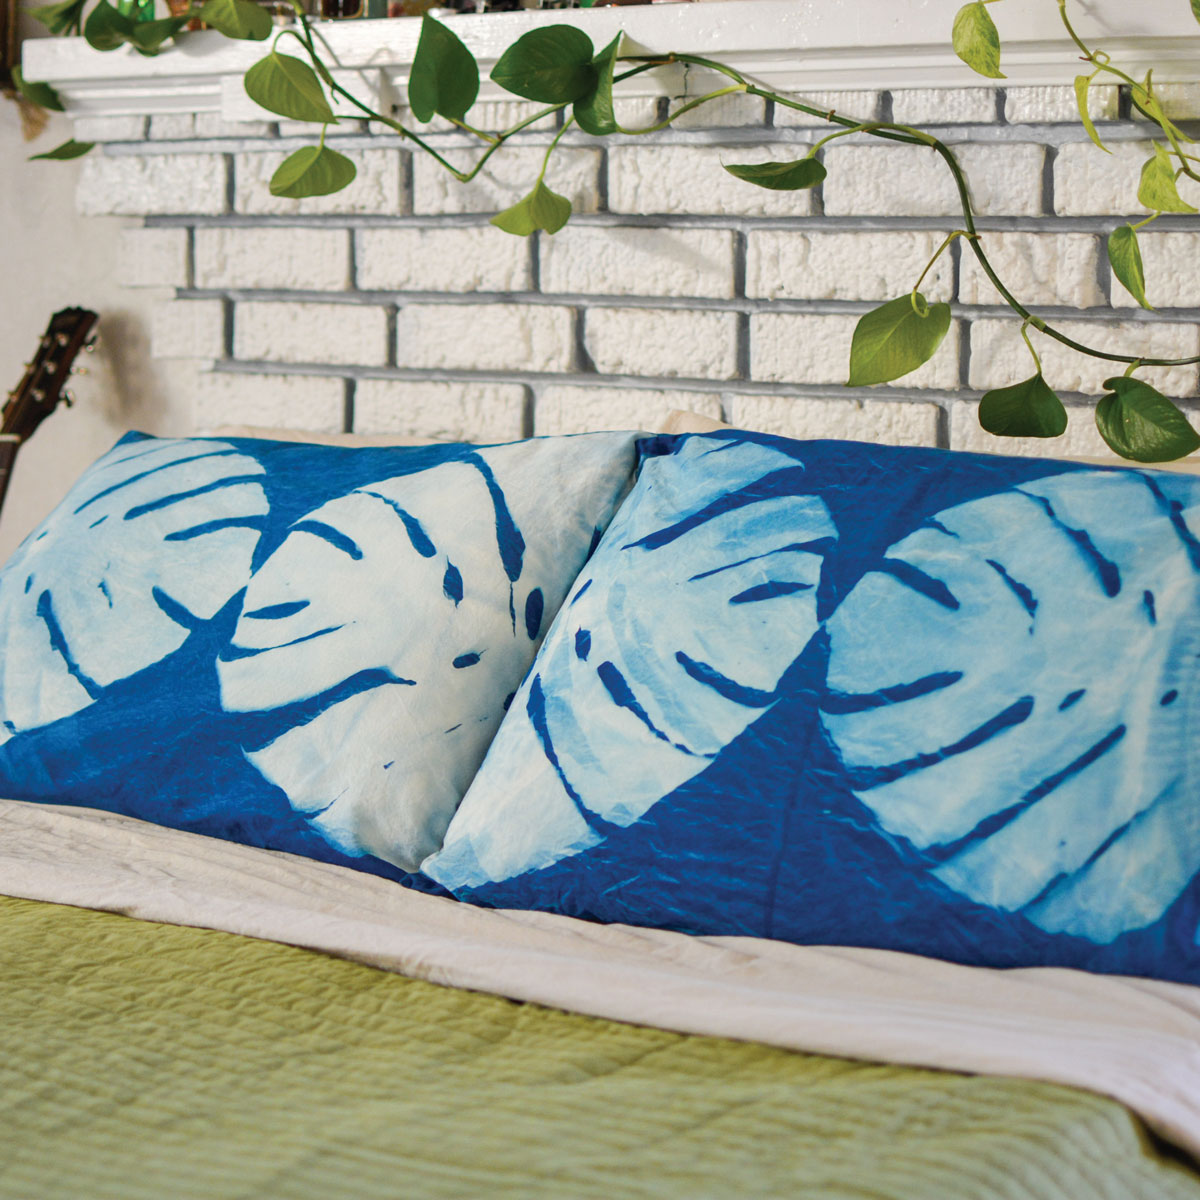
- Paper – Arches watercolor paper. Once you have a good feel for printing, you can (and should) experiment on different materials. For textiles, organic cotton is a good starting point. I’ve printed on old book pages, jeans, pillowcases, and I even have a friend who almost primarily prints on massive coffee filters (@moonandtidestudios).
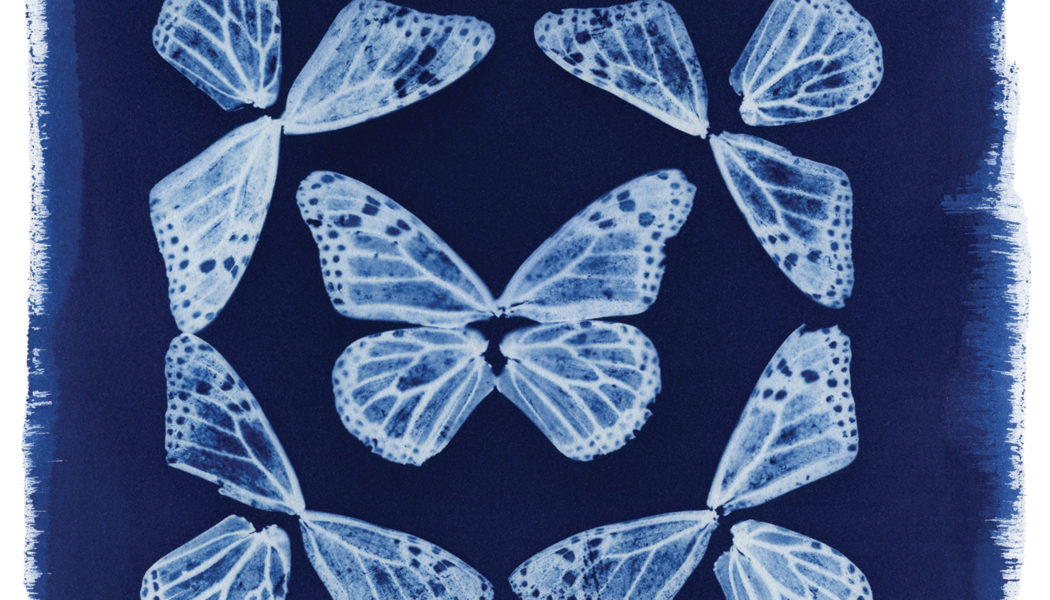
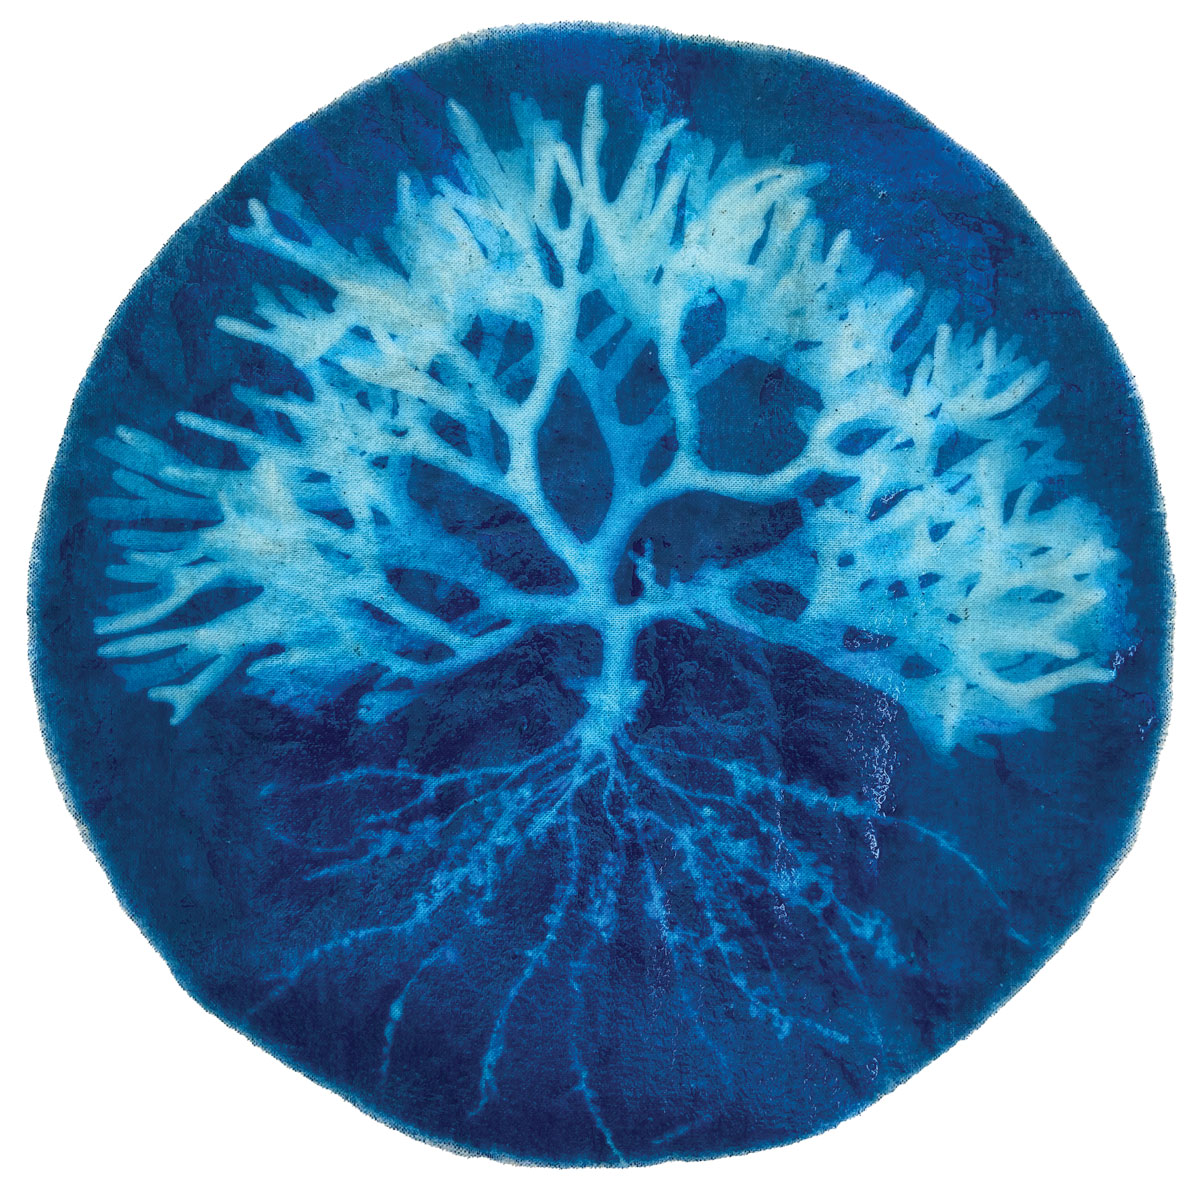
- Material to print with – I prefer utilizing natural elements for my prints. I bring a book with me on nature walks and enjoy identifying and pressing the specimens I find. Look for items that are interestingly shaped, as your print will typically only show the outline or silhouette of the item you are printing with. However, if you are printing with items that are semi-transparent, such as butterfly wings or snakeskin, you’ll find that intricate details transfer onto your print. This is because UV light can pass through parts of the item and onto the paper.
- Painter’s tape (optional) – If you desire clean, hard edges, use painter’s tape to determine the boundary of your print. If you prefer a less methodical approach, just enjoy the organic, raw edges of your print.
- Hard Backing – Choose a sturdy, flat surface to lay your paper and design on so you can carry it all in one piece to the sunshine. I usually opt for a hardcover book.
- Glass or plexiglass – This will sit on top of your paper to ensure your design both stays in place and sits flush on the paper. I use glass from an old picture frame and tape the edges, so it isn’t too sharp.
- Hairdryer – Any kind will do.
- Tray – Try an Arista photo developing tray found on freestylephoto.biz. However, any container that can hold liquid will work—just ensure the dimensions of your tray are slightly larger than the material you are printing on, and your tray is at least a couple of inches deep.
Just chill about screwing up.
Directions
Step 1
Set up a workspace in a dimly lit area sheltered from UV light—AKA sunshine or natural light from a window. Work atop cardboard or newspaper to prevent stains on the table. If desired, tape the edges of your paper now.
Step 2
Follow directions on cyanotype bottle to mix the solution in glass.
Step 3
Moisten brush with water. (The aforementioned Paul Karabinis recommends flicking the water off the brush a lucky seven times. This may or may not summon the cyanotype gods to accompany you on your printmaking journey.) Pat brush dry with paper towel. Frugally dip brush in cyanotype solution. Press brush against the side of mixing glass to remove excess solution.
Step 4
Gently coat paper with brush from left to right. Flip brush to the opposite side at the end of each stroke to help ensure even coating.
Step 5
Once the desired area is coated, dry it with a hair dryer. Hold the dryer a few inches away from the paper. Make sure it isn’t too hot. Keep it moving constantly until completely dry. This should only take a couple of minutes.
Step 6
Place paper on top of your chosen backing. Arrange the design on the paper. Gently place glass or Plexi on top.
Step 7
Carry design into direct sunlight. (You can print on an overcast day, but your exposure time will be longer). Leave print in the sun until it starts to turn a light bronze color—this could be anywhere from five to 30 minutes. Record the exposure time so you can adjust future print times if needed.
Step 8
If you are not using citric acid, skip to the next step.
Mix 1 tsp of acid to 1 qt of water. Place the print in the tray and pour the citric acid bath over the print. Gently agitate tray for two minutes, then dump citric acid bath out and continue with plain water rinse below.
Step 9
Wash print with water. Fill tray to the top with water, dump, and replace with clean water. Repeat for 5 minutes. If the water is still not running clear, rinse for longer.
Step 10
To dry, prop the empty tray up at an angle and “stick” wet print to it so excess water drips down and off. If the print is wrinkled once completely dry, press overnight between two heavy books.
Congratulations, you’ve made a cyanotype print.
If your print is too light and much of the detail was lost in the water rinse, you need more exposure time in the sun. If your print is way too dark, you need less exposure time. Either way, it’s impossible to make the same exact print twice, so experiment to your heart’s desire and get funky with it.